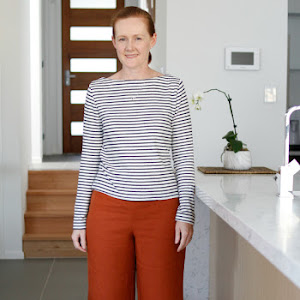
So after lamenting that the June and July issues weren't much to my liking, I found picking a project from the August issue just as hard but because I really liked quite a few projects. I've already traced out this cropped blazer with the interesting seam lines, and was highly tempted by this panelled dress and even this kimono style top interested me. But instead I went with this long sleeve gathered knit top, 8/2014 #132:
But I proceeded to change it quite a lot so that my version looks like this:
So what did I change? Apart from the obvious changes - sleeves cropped to the elbows and the gathers on the opposite side (don't know how I managed that!), the other changes are more subtle and arising from my fabric choice and fitting needs. I'm listing them here mainly for my own purposes in case I make this again in future, but if anyone else is thinking about making this top it might be useful too.
1. Raised the gathering line by 10cm so that it sat at my waist line instead of my hips, and shortened the length of the top overall to make it less like a tunic. I could see from the model photo that those gathers sat low on her hips, and I just figured it would be more flattering at my narrowest part so I reduced the length of the bodice above that gathering line until it sat at my waist. This also had the effect of shortening the top which is good because anything finishing mid thigh on me just feels dowdy. I didn't change the asymmetrical hem line, though it does seem less angled across the front, but at the side under those gathers the hem still rises upward:
2. Took in the side seams quite drastically to improve the fit. This pattern is quite shapeless aside from those gathers, and since I've made my top in a wonderful soft but firm white ponte knit instead of a thin drapey knit the pattern was just way too boxy for my liking. So I took the top in 3cm on both sides to get a closer, body skimming fit.
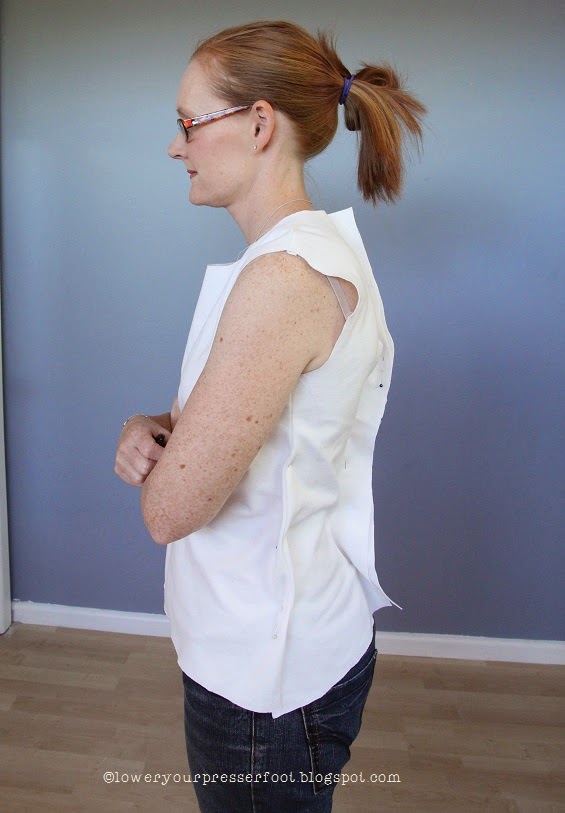
3. Added a centre back seam for a swayback adjustment. Unsurprisingly, I had a lot of fabric at the back because it was way too big and the fabric too stiff for it to pool in my swayback area like a thinner fabric would. Look how much excess there is in the back to begin with, even with the new side seams pinned in:
I cut it open down the centre back and pinned out A LOT of excess, mimicking the curve of my back (and my slouchy posture):
The final product is not perfect as there still are a few wrinkles and ripples, but it's a much better fit:
4. Added an exposed neckline zipper. Before I even cut out the fabric I pinched out 3cm from both the front and back necklines because by the looks of the model it was a very wide neckline. I added an exposed zip to the newly created centre back seam partly to make the centre back seam look like a design feature but also to help get the top over my head! The neckline is probably still wide enough to fit easily enough, but I like the look of exposed zips anyway and I think it gives the back view of this top a lot more interest.
5. Sewed down the pleats. I sewed each pleat down for a few centimetres away from the seam line instead of just folding them down because I found that it sat flatter at the waistline seam line that way. I didn't quite line up those pleats though, as this close up photo shows but no one else will ever notice:
So overall I like this pattern - albeit with the changes I made. I think the original pattern would work fine if you made it in a slinky knit and like the slouchy, tunic style top but I prefer structure and form to my clothes and I think the changes I made really helped that. If you are looking for a simple top with a bit of twist then I can highly recommend this pattern.


No comments:
Post a Comment