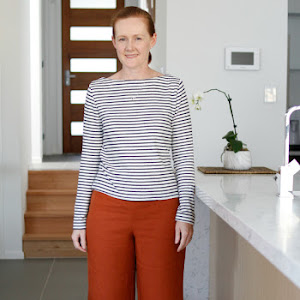
Anyway, enough justifying myself to no one in particular, here is my latest project:
In the magazine Burda calls this the referee shirt, pattern #122 from 9/2015, although on their website they specifically say to make it from a luxe fabric such as silk jersey and to wear with stilettos to avoid the referee look.
 |
| images via Burda Style |
I've made mine from a pinstriped soft cotton shirting fabric that has been in the stash for quite a long time, so mine has more of a casual business vibe than a sporty look. But a lightweight summer shirt with sleeves and a collar is exactly what I need in summer for sun protection which is why I picked this pattern over the several lovely dress patterns in this issue.
Because my fabric isn't as drapey as the silk jersey used in the magazine and I don't particularly like the tunic look, I shortened this pattern quite a lot - about 12cm off the length of view A so that it doesn't look like I'm wearing a nightie. I did keep the curved hem, which is slightly shorter at the front than the back, which gives it a sporty vibe:
You can see that this shirt is a loose fitting style - there are no darts in the back at all but it was quite nice not to be obsessed with fitting my swayback for a change. I don't think it looks too bad from the back view:
I didn't have a white zipper in the stash which is why I've left it off, but I did discover that the top is too low cut not to have the bottom section at least closed up. So I just put a button and a loop part-way up to keep things decent looking.
I think my collar has turned out looking more like a sailor's uniform than a referee shirt though I think my past projects have shown that I'm not adverse to an oversized and sometimes ridiculous looking collar!
I also found the sleeves quite long, but instead of just chopping them off at the elbow I decided to turn it up and sew it into a cuff instead - I think it goes well with the casual vibe:
Overall this is a pretty easy pattern. I took a few shortcuts though - leaving off the zipper was one, but I also just turned the hem under and top-stitched instead of using fiddly binding strips. Confusingly, the pattern includes the seam allowance for the side seam and hem of the back pattern piece but not any others and then the instructions also say to include 1.5cm seam allowance at the slit edges of the back pieces! I can't explain why this is, but as usual with Burda it is usually best just to ignore the instructions and get on the best you can!


No comments:
Post a Comment